Online
Encrypted & ad-free
10 Gbps network
Convert any file hosting link into premium download links. Get maximum speed, no waiting times, and unlimited downloads from 50+ supported hosts.
Follow the steps below to connect via the built-in Windows L2TP/IPsec client.
Tip: L2TP/IPsec uses the pre-shared key above plus your account username/password. If you don’t have a VPN password yet, create one on the VPN page.
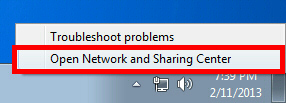
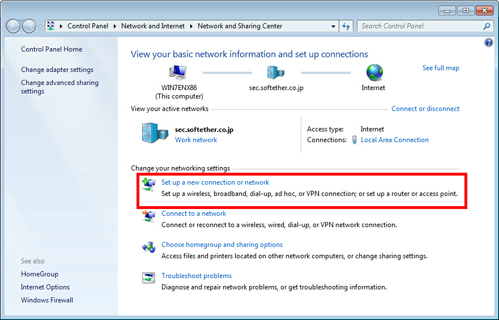
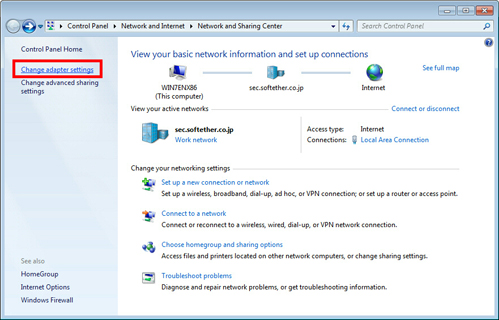
Open Network & Internet Settings → Network and Sharing Center → Set up a new connection or network.
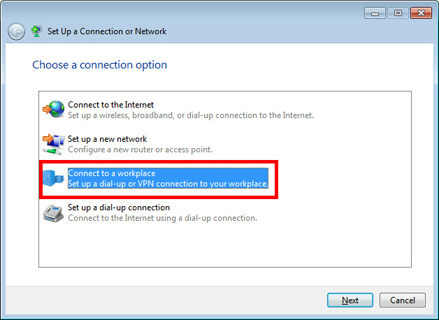
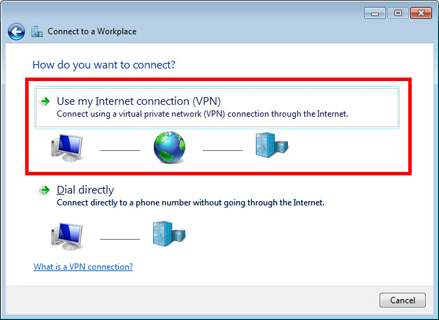
Choose Connect to a workplace → Use my Internet connection (VPN).
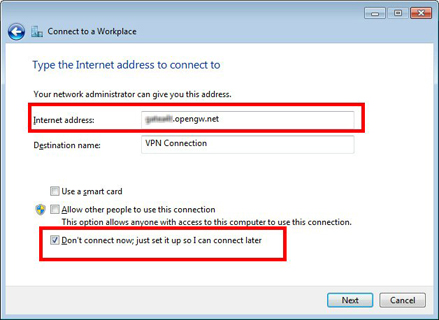
Enter a server from /vpn (e.g. vpn-ams.cocoleech.com) and tick Don’t connect now.
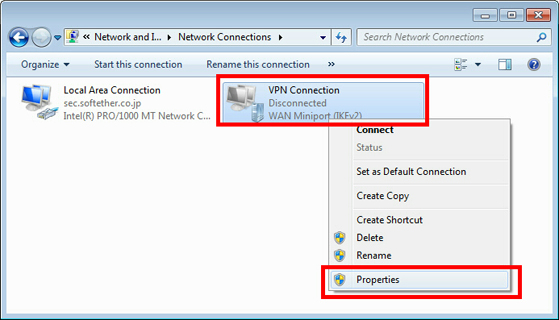
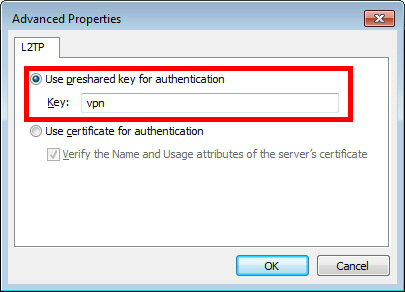
Open the connection Properties → Security tab. Set VPN type to L2TP/IPsec, click Advanced settings, choose Use preshared key and enter vpn.
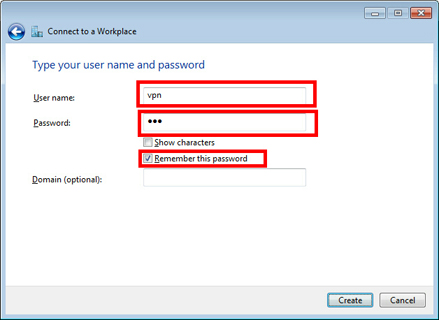
Connect using your Cocoleech Username and your generated VPN Password. Save credentials if prompted.
If connection fails, double-check VPN Type = L2TP/IPsec, the preshared key is vpn, and your server hostname & credentials are correct.